
Eyeliner
Timeless Definition, Infinite Expression
Why Eyeliner?
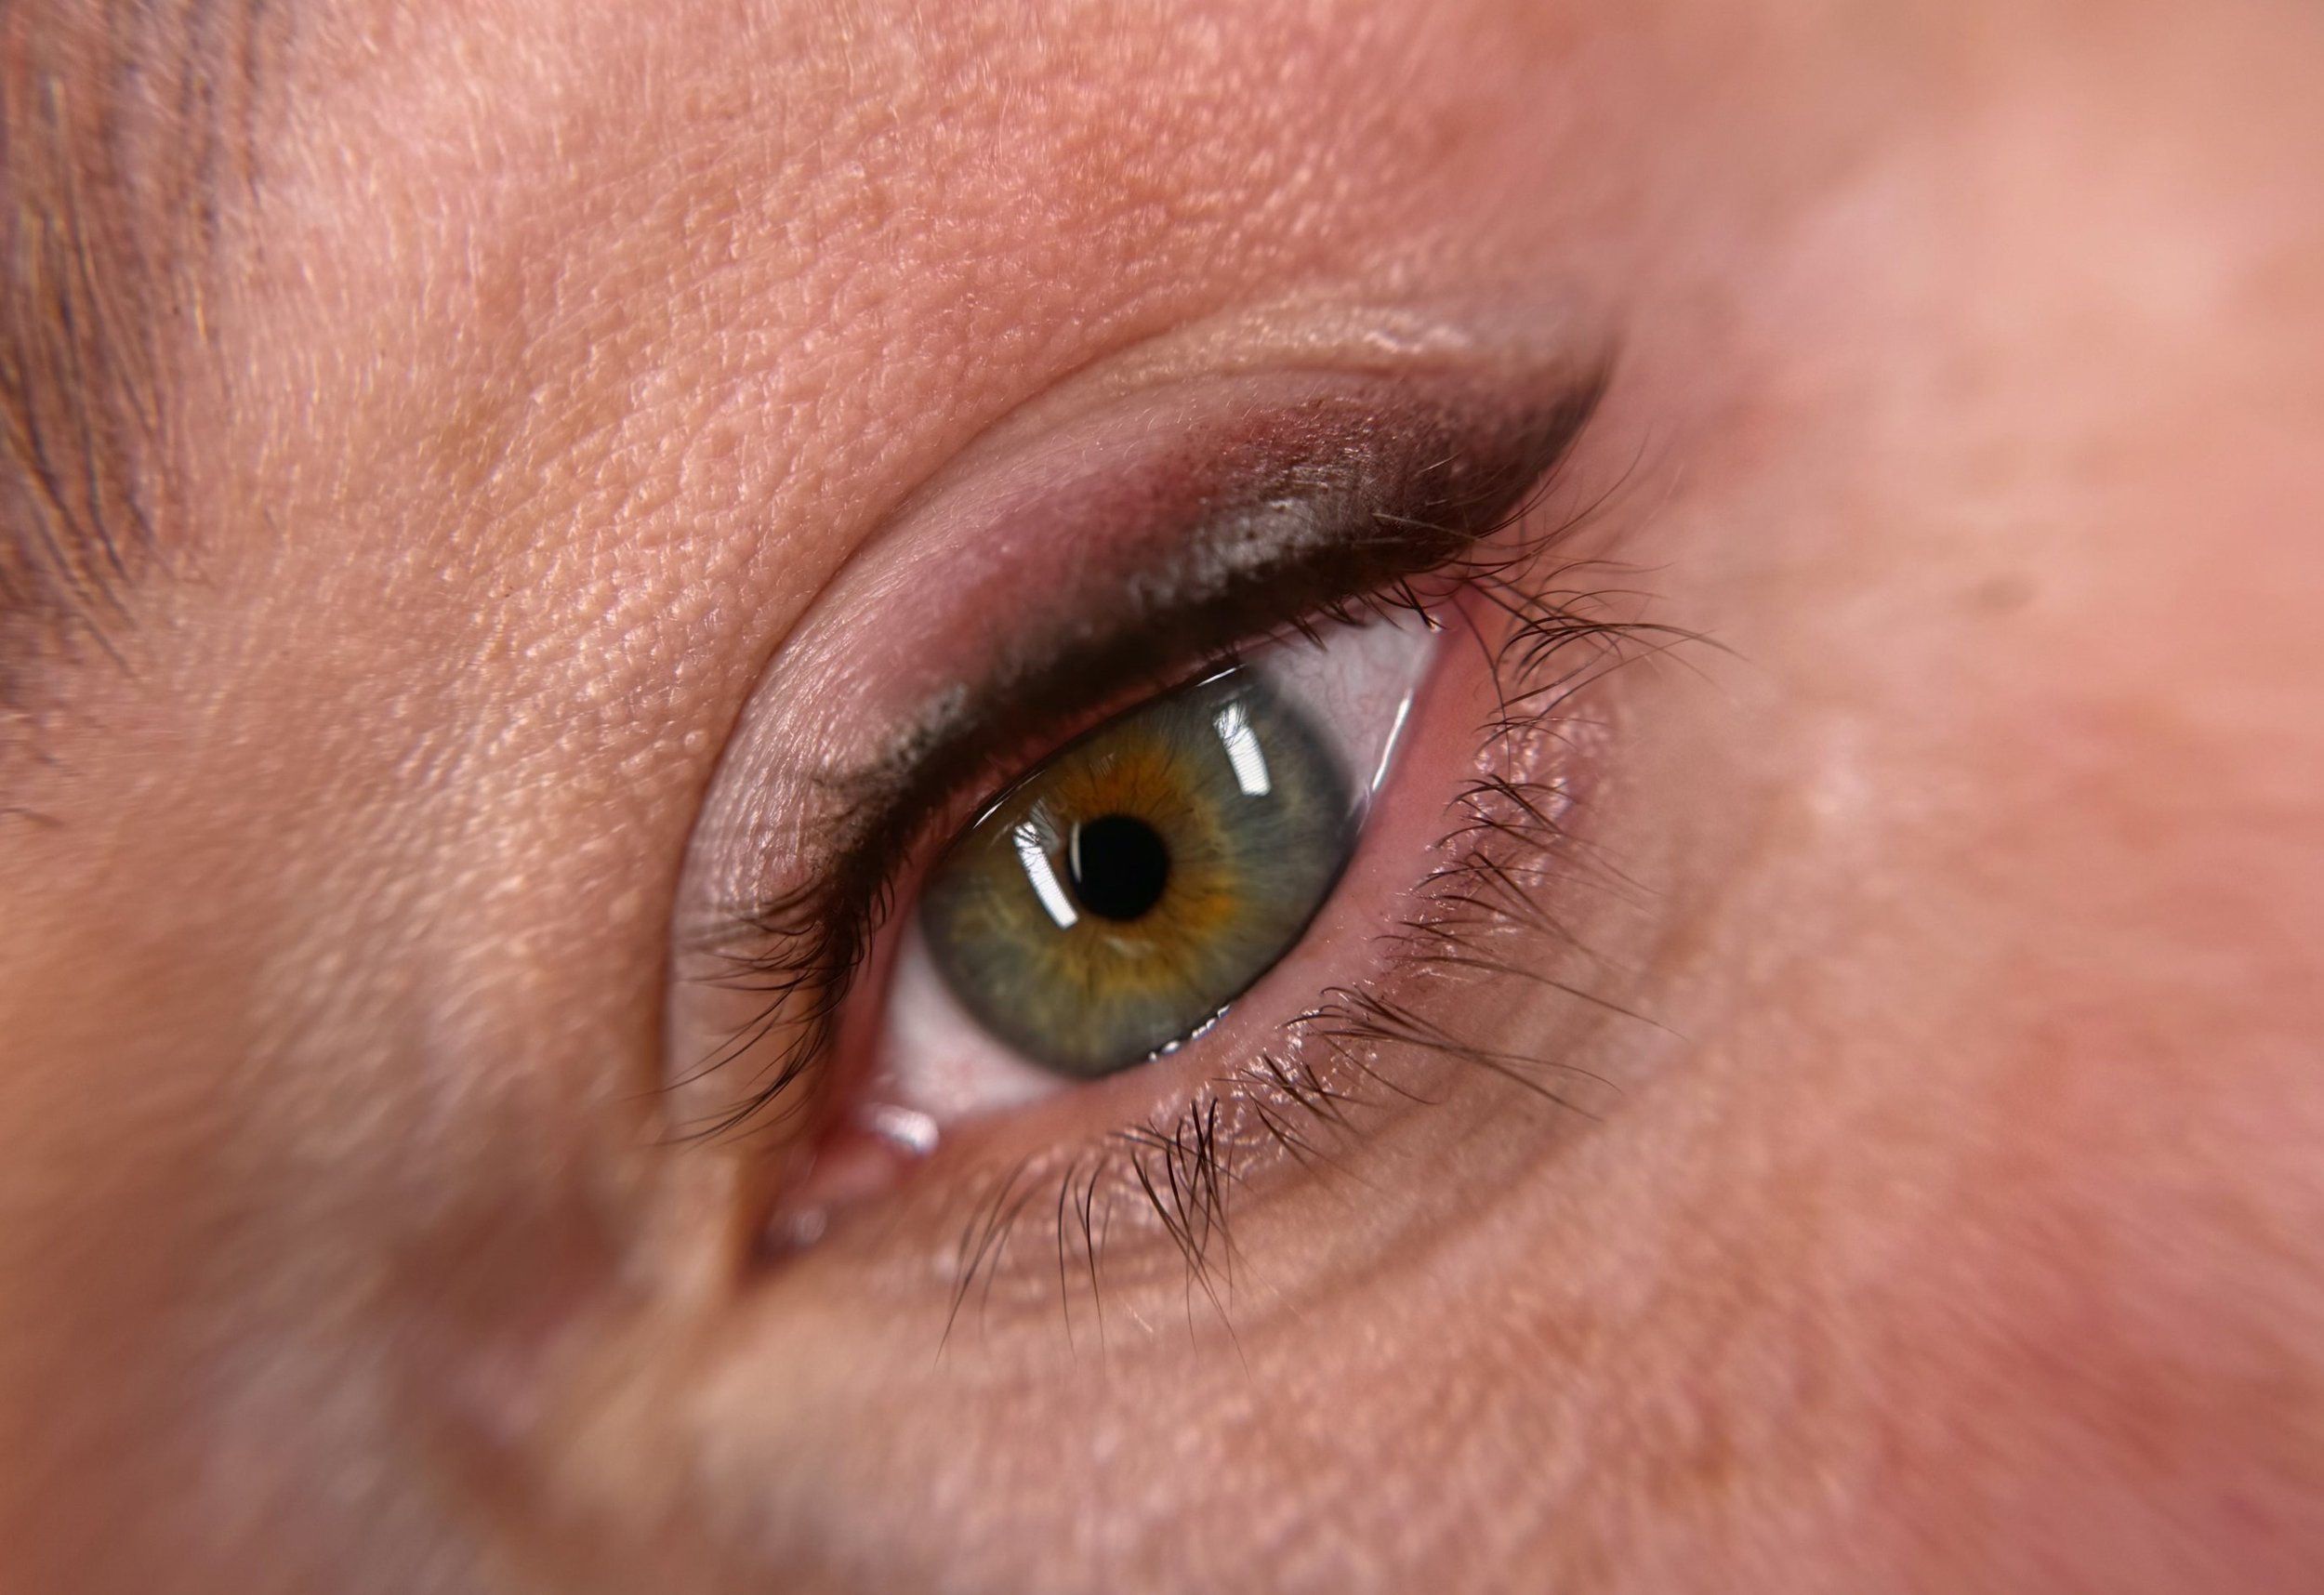
Eyeliner has the power to enhance, define, and transform the eyes—creating a look that’s as subtle or bold as you desire. Whether you prefer a soft lash enhancement, a classic wing, or a sultry smokey effect, permanent eyeliner is the perfect way to wake up every day with perfectly placed liner—no smudging, no reapplying, no hassle.
With expert precision and artistry, each eyeliner design is custom-tailored to your eye shape, features, and style preferences. Whether you’re looking for a soft enhancement or a more dramatic finish, this treatment ensures long-lasting beauty and effortless confidence.
-

Standard Wing (optional: lower lid)
A timeless favorite—a solid, defined liner with a precise wing at the outer corner. Perfect for those who love a clean, polished look with an elegant flick to elongate and lift the eyes.
-

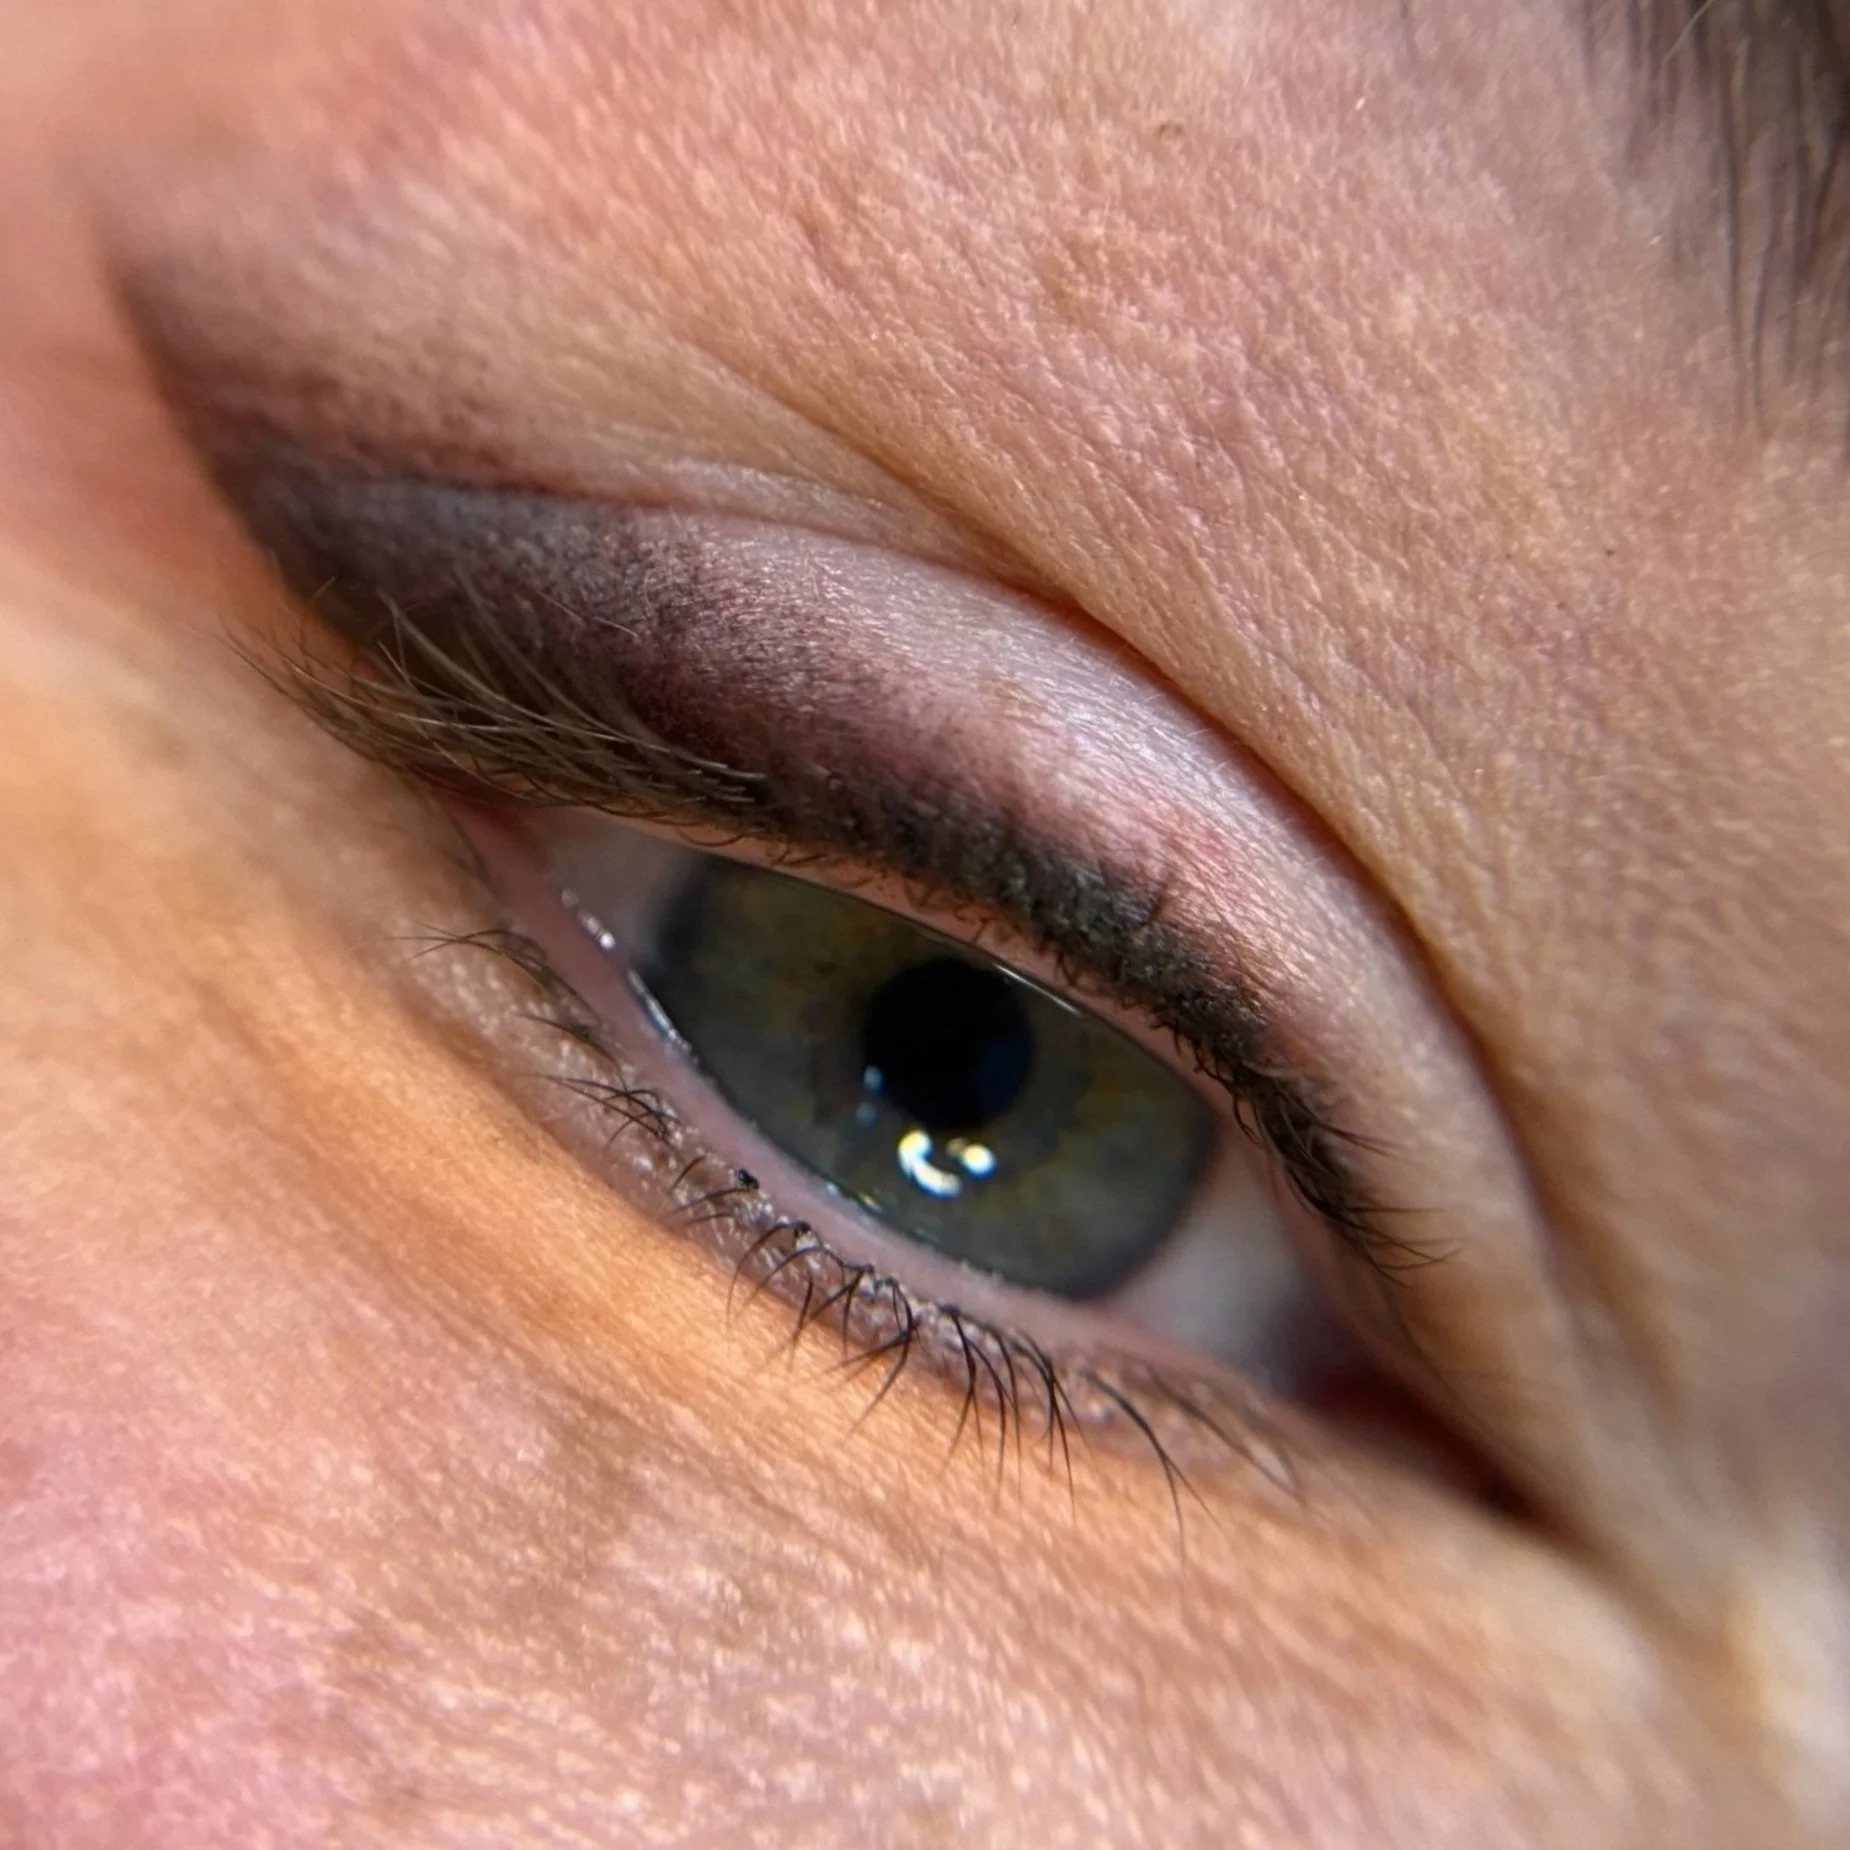
Smokey Wing
A sultry, blended take on the winged liner. This technique features a solid liner along the lash line, seamlessly diffused into a smokey effect that fans upward. Ideal for those who want a softer, smoldering finish while maintaining a touch of drama.
-

Standard Liner (optional: brown)
Simplicity at its finest—a classic solid liner that hugs the lash line without a wing. This look enhances definition while remaining understated and versatile for everyday wear.
Lower Lid Liner
A subtle enhancement for added definition. This technique involves a fine, delicate liner along the lower lash line to complement your upper eyeliner. Please note that tattooing directly on the waterline is not possible, and thick, dramatic bottom liner is not offered. If you prefer a bold, heavily lined lower lid, I may not be the right artist for your needs.
Custom Colors
While classic shades like black, brown, and charcoal gray are the most popular choices, custom colors can be requested to add a unique touch. Whether you’re envisioning deep navy, rich plum, or a hint of emerald, a variety of shades can be accommodated. However, special color requests must be communicated prior to your appointment to ensure the right pigments are available.
Let’s create an eyeliner look that enhances your eyes and suits your style perfectly.


Procedure
Process


Pre-Draw
Every step of the eyeliner procedure is carefully structured to ensure your confidence and comfort throughout the process. This treatment is never rushed—ample time is built into the appointment to allow for precision and adjustments if needed. Please plan accordingly and avoid scheduling any pressing commitments immediately after your appointment.
Consultation & Design
Upon arrival, we will discuss your eyeliner goals, including shape, thickness, and style. You are welcome to bring inspiration photos or show me how you typically wear your eyeliner. “Before” photos will be taken so we can admire the transformation together at the end of your appointment.
The procedure begins with a thorough cleansing of the eye area, followed by a detailed pre-draw process that takes 30 minutes to 1 hour. Using a fine red pen, I will design an eyeliner shape that follows your natural eyelid structure and complements your facial features. Symmetry is carefully assessed from multiple angles—lying down, sitting up, and at different perspectives—to ensure perfect balance. Since natural asymmetry is common, I will discuss any variations and explain how I plan to achieve the most harmonious look.
Once I am completely satisfied with the pre-draw, I will show you the design and encourage your feedback. You can request adjustments to make the liner thicker, thinner, longer, or shorter—whatever best suits your vision! This is a collaborative process, and I want you to feel 100% in love with your new eyeliner before moving forward.
Numbing & Color Selection
Once the shape is finalized, a topical anesthetic is applied to ensure maximum comfort. While numbing, we will go over color options (if you are considering a unique color, please inform me prior to your appointment to ensure availability). This is also the time when we will review your Aftercare Kit and discuss what to expect during the healing process.
Sanitation & Safety
Your health and safety are my top priorities. All supplies are single-use disposable, ensuring a fully sanitized environment. I use hypoallergenic pigments that adhere to EU REACH Compliance, which upholds stricter safety standards than those in the U.S. (Tattoo pigments in the U.S. are not FDA-regulated.)
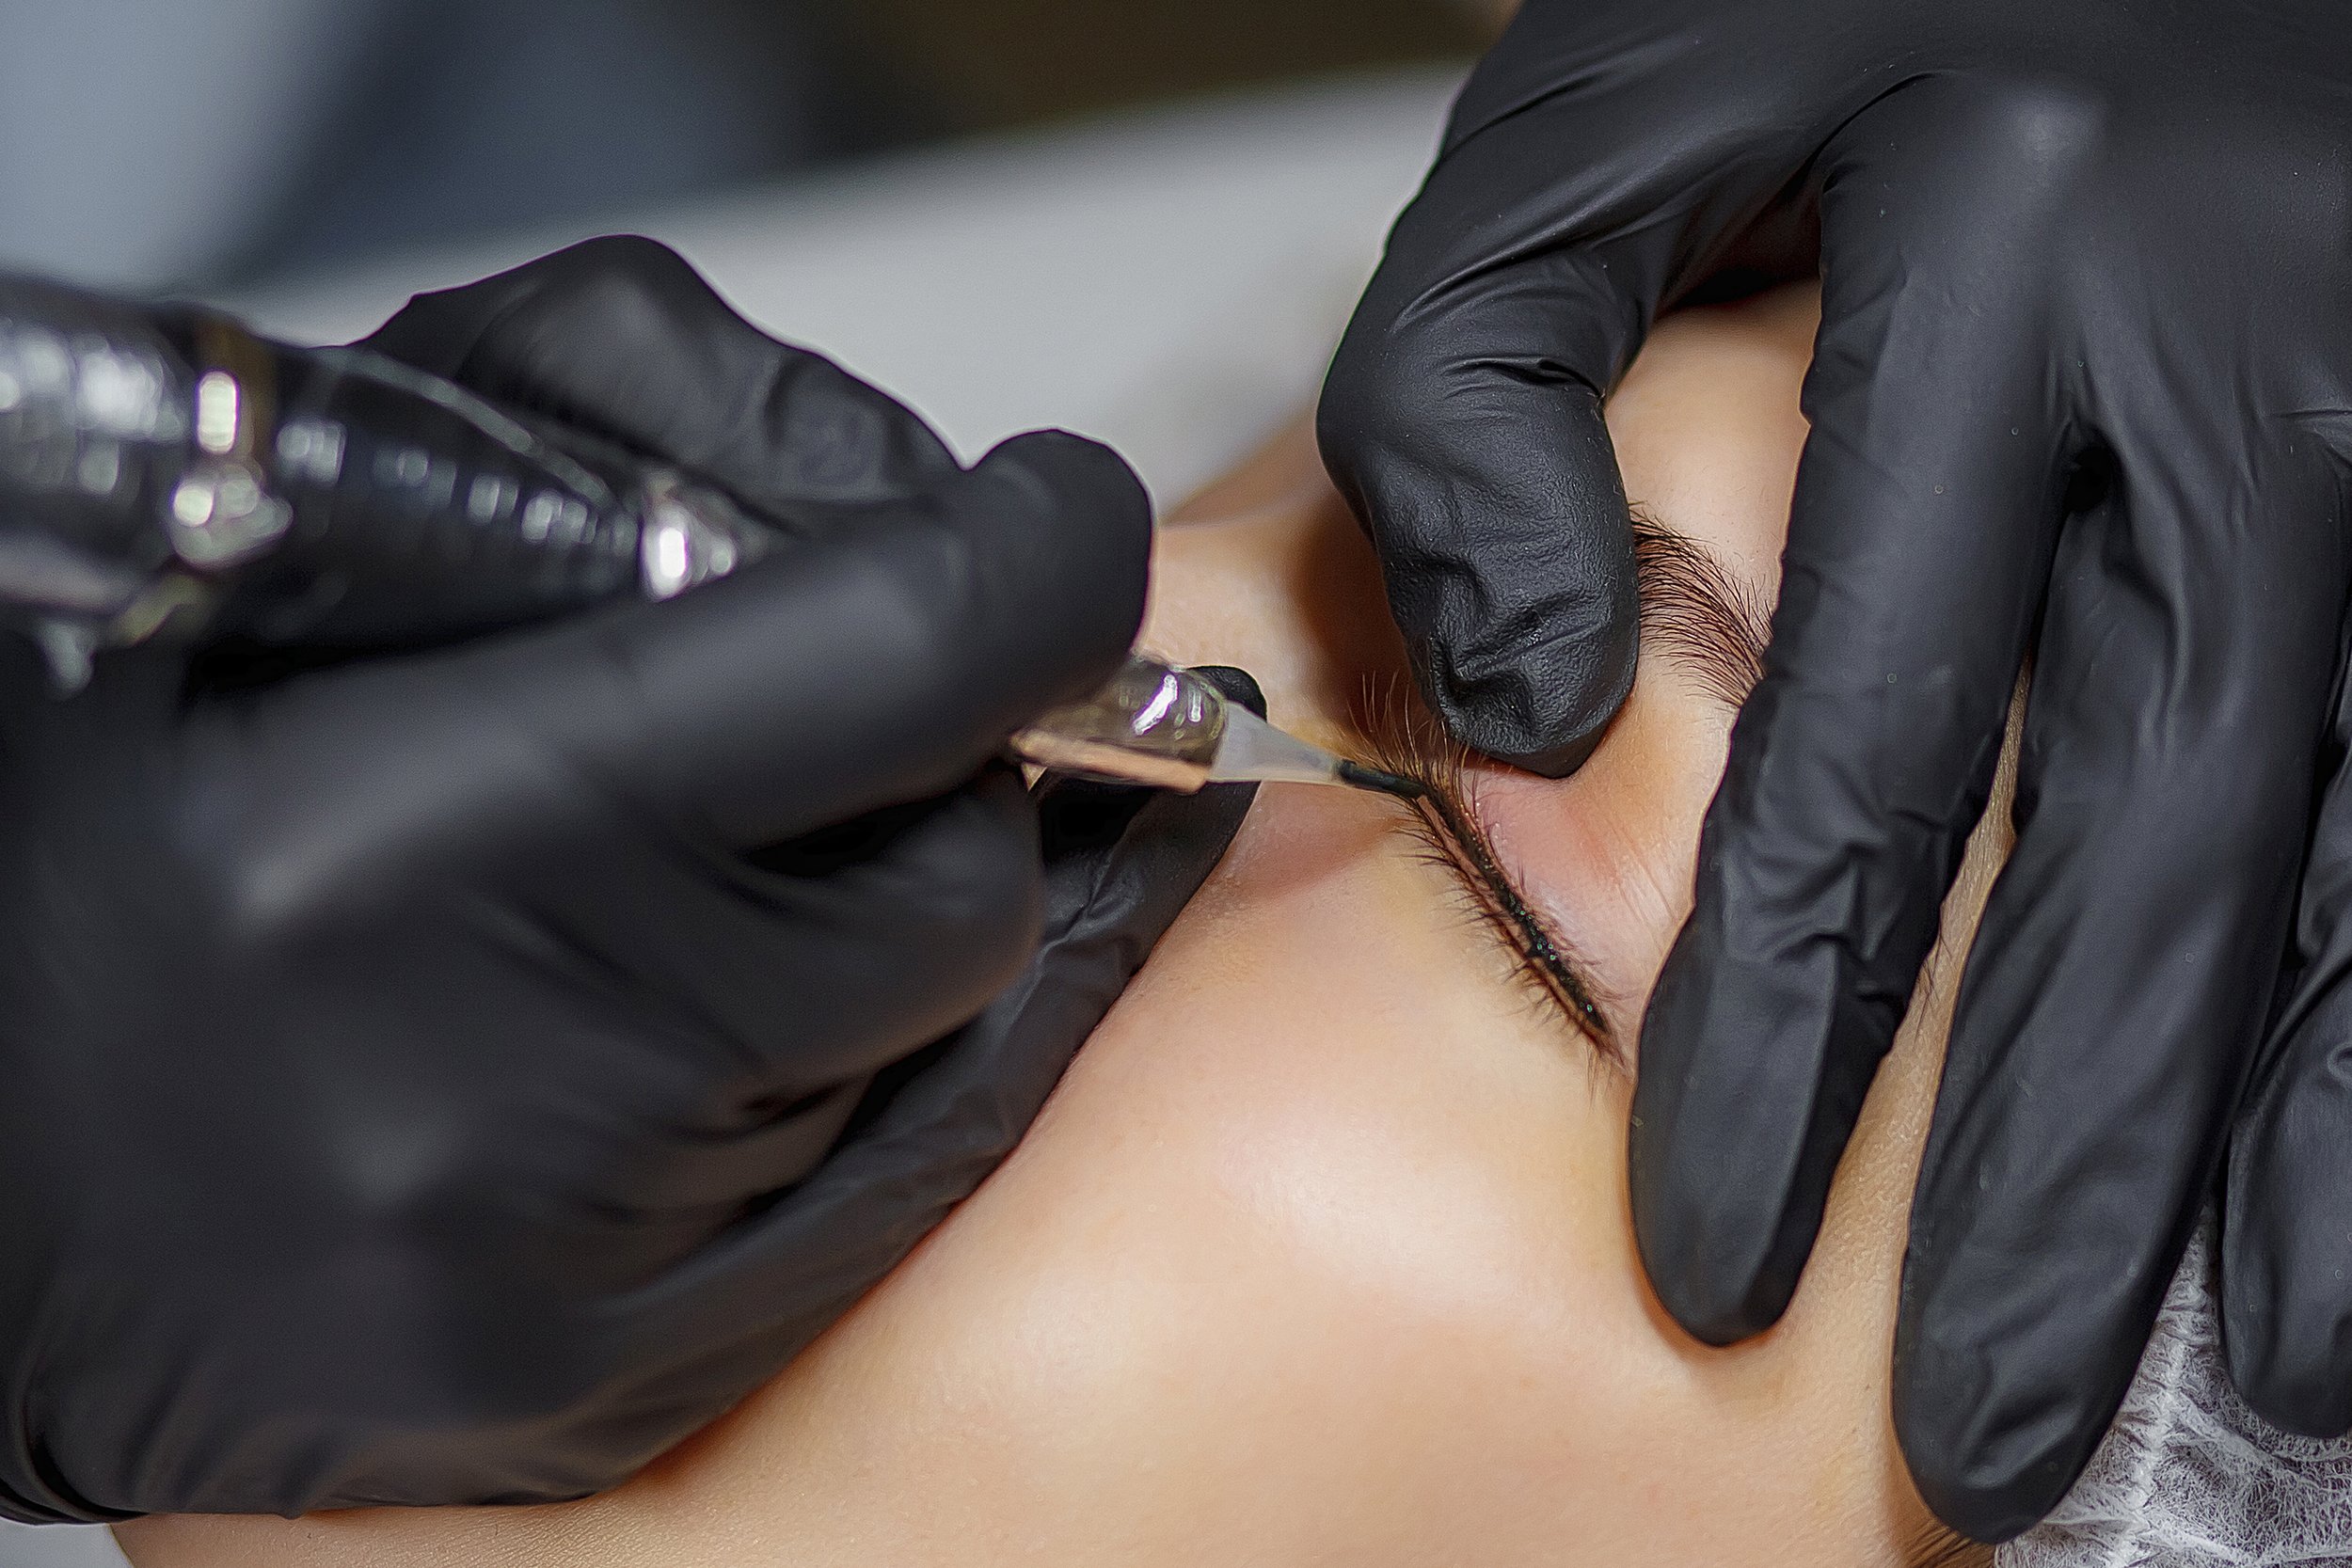
Tattooing Process
Once numbing is complete, your eyes will remain closed for the entire tattooing process. I typically complete three passes per eye, ensuring even pigment saturation and a flawless finish. Between each pass, I will reapply numbing to the side not being worked on.
If you have high sensitivity (such as discomfort at dental appointments), please let me know in advance, and I can extend your numbing time for added comfort.
The Final Reveal
Before you know it, your eyeliner will be beautifully enhanced—no more smudging, smearing, or time-consuming applications. Many clients are thrilled by how much easier their morning routine becomes and often say, “I wish I had done this sooner!”
Contraindications
You are not a candidate for this procedure if:
You are under 18 years old.
You are pregnant or breastfeeding.
must wait 3 months after, for both.
You have used Accutane anytime within the past 12 months.
You have a heart condition, pacemaker, or defibrillator.
You have “keloid” scars (raised scarring).
You have an autoimmune disease.
must consult your doctor, condition must be stable.
must know retention isn’t as optimal.
You are undergoing chemo/radiation therapy.
must consult your doctor & have a permission note.
You are taking medical blood thinning medication.
must consult your doctor.
You are wearing lash extensions at the time of the appointment.
must have them removed by your lash artist beforehand.
must wait 8 weeks before you get lash extensions redone.
You have macular degeneration and/or receive eye shots.
must consult your doctor & have a permission note.
You have a corneal abrasion (scratch).
this can occur microscopically from simply being a little too rough while removing contact lenses.
You refuse to go without contact lenses.
must refrain from wearing contact lenses for a minimum of 3 days prior to the procedure.
must not wear contact lenses during the procedure.
must wait 3 days following the procedure to begin wearing contact lenses again.
You use Latisse or any other hair growing serum on your lash area.
Must not being using these products for a minimum of 4 months.
Prep
for best retention
Preparation for Your Eyeliner Procedure
Proper preparation is essential to achieving the best results. Following these guidelines will ensure smoother healing, optimal pigment retention, and a more comfortable experience.
Recommended Pre-Procedure Steps:
Avoid waterproof eye makeup for at least 48 hours before your procedure.
Contact lens wearers:
Refrain from wearing contact lenses for a minimum of 3 days prior to your appointment.
This prevents potential corneal abrasions, which could make you ineligible for the procedure. A scratched cornea can trap pigment permanently, so this precaution is crucial.
Keep your skin moisturized as usual in the week leading up to your appointment.
Avoid all anti-aging products (especially around the eye area) for one week before your procedure.
Cleanse your face daily and remove all makeup before bed.
If you typically sleep in eye makeup, avoid doing so for at least a week before your procedure, as it can alter skin texture and affect pigment implantation.
Drink plenty of water in the week leading up to your procedure—hydrated skin heals better!
Arrive with clean, dry skin and no lash extensions.
Eat a full meal before your appointment to help maintain blood sugar levels.
Bring your glasses if needed—no contact lenses are allowed during the procedure.
What to Avoid Before Your Appointment:
3 Days Before
No contact lenses (to avoid potential corneal abrasions).
48 Hours Before
No waterproof makeup on the eye area.
No coffee or alcohol.
No intense workouts.
24 Hours Before
Avoid power shakes, power greens, fish oil, and “hair, skin, nail” supplements.
Do not take Aspirin, Niacin, Vitamin E, or Ibuprofen.
1 Week Before
No brow hair removal (waxing, threading, tweezing, or electrolysis).
No Retin-A, retinol, glycolic acid, or chemical peels.
No Alpha Hydroxy Acid (AHA) skincare products.
No anti-aging treatments around the eye area.
2 Weeks Before
No brow tinting.
No tanning.
3 Weeks Before
No Botox or neuromodulators.
4 Months Before
Discontinue use of lash growth serums (e.g., Latisse).
6 Weeks Before
No undereye fillers.
By following these preparation guidelines, you ensure the best possible results from your eyeliner procedure. If you have any questions about these restrictions, feel free to reach out before your appointment!
Aftercare Guidelines & Healing Process
Proper aftercare is essential to ensuring your eyeliner heals beautifully and lasts as long as possible. Below are general guidelines to help you plan your appointment and understand what to expect during healing. Full aftercare instructions will be provided during your appointment along with an Aftercare Kit containing everything you need.
What to Avoid After Your Eyeliner Procedure:
No contact lenses for at least 3 days.
No eye makeup (including mascara) for a minimum of 10 days.
No eye creams or cleansing products around the eyes for 10 days, especially those containing:
Acids (glycolic, lactic, AHA)
Anti-aging or acne-treatment ingredients
Exfoliants
Instead, use Cetaphil Gentle Skin Cleanser to wash your face while healing.
Avoid getting your face wet in the shower—be mindful of water exposure.
No exfoliating, scratching, itching, or picking at scabs.
Flaking and scabbing are normal—let them shed naturally to avoid pigment loss or scarring.
Use a fresh pillowcase & avoid sleeping on your face for 10 days.
No sweating or heavy exercise for 10 days.
No steamy showers, saunas, or swimming for 10 days.
No facials, Botox, chemical treatments, or microdermabrasion for 4 weeks.
No direct sun exposure or tanning for 4 weeks.
No lash extensions for a minimum of 8 weeks.
No lash-growth serums (e.g., Latisse) for a minimum of 3 months.
Aftercare Instructions & Healing Timeline
Each client will receive a personalized Aftercare Kit with everything needed for a smooth recovery. You will cleanse & moisturize your eyeliner for 10 days following the instructions provided at your appointment.
What to Expect During Healing:
Day 1:
Your eyeliner will appear bold and intense—this is normal!
Expect mild swelling, redness, and skin sensitivity around the eyes.
The color will soften by about 30% and may shrink slightly as it heals.
Days 2-3:
Swelling and irritation begin to subside, but your eyelids may feel tight, dry, and tender.
Days 4-10:
Light flaking and peeling may occur—this is part of the skin’s natural healing process.
DO NOT pick or rub at flaking skin, as this can cause pigment loss or scarring.
Days 10-28 – The “Ghosting” Phase:
After flaking is complete, your eyeliner may appear significantly lighter.
The pigment is still there—it’s just beneath a new layer of healing skin.
Weeks 4-6:
The true color begins to return as the skin settles and pigment stabilizes.
Week 8:
Healing is fully complete, and the final color is revealed.
By following these guidelines, you’ll ensure long-lasting, flawless results. If you have any questions throughout the healing process, don’t hesitate to reach out.

Eyeliner Investment:
Investment Upper Eyeliner: $399
Add-on Lower Eyeliner: $99
Flexible Payment Options:
We understand that investing in your beauty should be hassle-free. That’s why we offer flexible payment plans through Cherry. Choose from our 3-month or 6-month interest-free options.
Color Boost:
Color boosts help maintain the vibrancy and definition of your lips over time. The frequency of color boosts varies based on factors such as skin type, lifestyle, and environmental influences, including:
Oily skin
Tanning or frequent sun exposure
Swimming in chlorinated pools
Use of anti-aging or acne treatments
Chemical peels or microdermabrasion
Autoimmune conditions
Hormonal imbalances
Typical Color Boost Timeline: first Color Boost within 6-12 months, then every 3 years.
Color Boost Pricing:
Lower Eyeliner Only: $99
8 to 12 weeks: $120 (+$50 for lower eyeliner)
3 months to 12 months: $150 (+$50 for lower eyeliner)
12 months to 18 months: $175 (+$70 for lower eyeliner)
1.5 years to 2 years: $199 (+$70 for lower eyeliner)
2 years to 2.5 years: $250 (+$90 for lower eyeliner)
2.5 years to 3 years: $300 (+$90 for lower eyeliner)
3 years to 3.5 years: $350 (+$90 for lower eyeliner)
3.5 years or more: $399 (+$99 for lower eyeliner)
BOOK EYELINER
BOOK EYELINER
Still Have Questions About Eyeliner?
If you’ve read through our Eyeliner page and still have questions, feel free to submit our inquiry form. We’re here to assist with any additional details you may need before booking your appointment.